![]()
PrivacyScan User Guide
- PrivacyScan Setup
- PrivacyScan Setup Assistant: Welcome
- PrivacyScan Setup Assistant: File Cleaning
- PrivacyScan Setup Assistant: Program Settings
- PrivacyScan Setup Assistant: Individual App Settings
- PrivacyScan Setup Assistant: Setup Complete
- PrivacyScan Threat Cleaning
- PrivacyScan: Cookie Cleaning Alert
- PrivacyScan: Canceling Cleaning
- PrivacyScan: Quitting PrivacyScan
- PrivacyScan: Temporary File Alert
About PrivacyScan
PrivacyScan protects your online and offline privacy by shredding files that can be used to track your web browsing and computer usage. PrivacyScan provides protection by scanning your system for files that could compromise your privacy and offers multiple levels of shredding to securely erase them from your system.
No matter where you go on the web, PrivacyScan is ready to alert you to potential threats, and provides the means to eliminate them easily with an intuitive user interface.
Installing PrivacyScan
From the Mac App Store:
If you purchased PrivacyScan from the Mac App Store, it will be located in the Applications folder by default. PrivacyScan is downloaded and installed from the Mac App Store at the time of purchase.
From SecureMac directly:
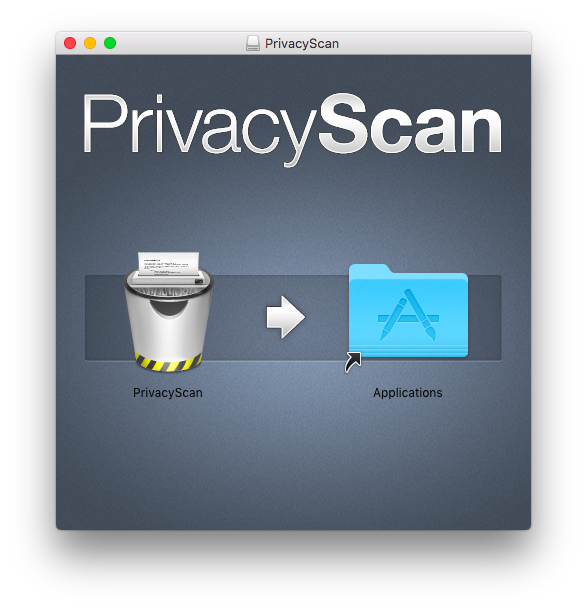
If you purchased PrivacyScan from our website, you will be provided with a download link at the time of purchase. After downloading the PrivacyScan disk image (dmg), double-click the PrivacyScan.dmg file and then simply drag the PrivacyScan app icon from the disk image to the Applications folder to install PrivacyScan on your system.
Reinstalling PrivacyScan
From the Mac App Store:
If you purchased PrivacyScan from the Mac App Store and need to reinstall it on your system, open the Mac App Store, click on Purchases at the top of the Mac App Store window, and PrivacyScan should be listed along with your other previously purchased apps. Click the Install button next to PrivacyScan to reinstall it on your system.
From SecureMac directly:
If you purchased PrivacyScan from our website and need to reinstall it on your system, you can download the PrivacyScan disk image (dmg) directly from our website. After downloading the PrivacyScan disk image (dmg), double-click the PrivacyScan.dmg file and then drag the PrivacyScan app icon from the disk image to the Applications folder to reinstall PrivacyScan on your system.
Purchasing PrivacyScan
From the Mac App Store:
PrivacyScan is available for purchase in the Mac App Store at https://itunes.apple.com/us/app/privacyscan/id494950833?mt=12&uo=4&at=11laCt.
From SecureMac directly:
PrivacyScan is available for purchase from within the PrivacyScan demo app as well as directly from our website here: https://www.securemac.com/purchase-ps.
Registering PrivacyScan
From the Mac App Store:
If you purchased PrivacyScan from the Mac App Store, it is automatically registered with your Mac App Store account and does not need to be registered with a serial number.
From SecureMac directly:
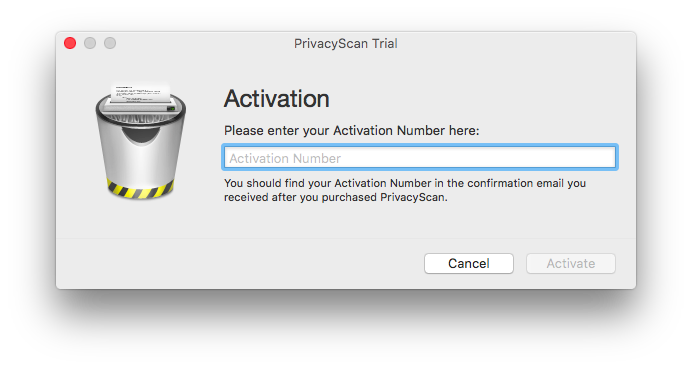
If you purchased PrivacyScan from our website, you will be provided with a serial number at the time of purchase. After installing PrivacyScan on your system, open the PrivacyScan app and enter your serial number when prompted.
If you encounter problems registering PrivacyScan, make sure to disable any firewalls or security programs that may be running on your system when attempting to register PrivacyScan. After successful registration they can be re-enabled.
Updating PrivacyScan
From the Mac App Store:
If you purchased PrivacyScan from the Mac App Store, the Mac App Store will notify you when updates are available for PrivacyScan. You can manually check for updates by clicking the Apple menu in the upper lefthand corner of your screen, and clicking “App Store…” to automatically open the Mac App Store to the Updates tab. To download and install PrivacyScan updates, open the Mac App Store, click on Updates at the top of the Mac App Store window, and PrivacyScan will be listed if an update is available. Click the Update button next to PrivacyScan to install the updated version of PrivacyScan on your system.
From SecureMac directly:
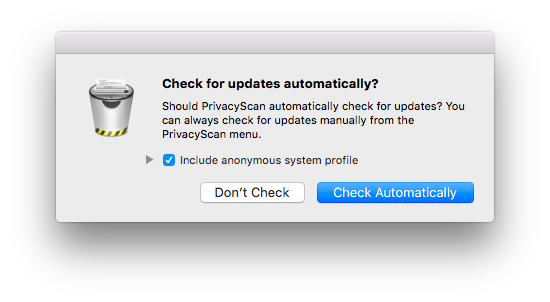
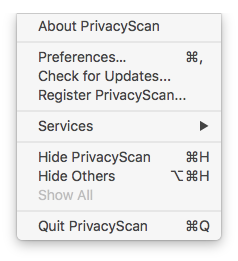
If you purchased PrivacyScan from our website, you can set PrivacyScan to automatically check for updates. If PrivacyScan is set to automatically check for updates, it will do so every time you open the PrivacyScan app. Alternatively, you can manually check for updates by clicking the PrivacyScan menu and clicking “Check for Updates…” and PrivacyScan will let you know if an update is available.
PrivacyScan Setup
The first time you run PrivacyScan, the PrivacyScan Setup Assistant will help guide you through the initial app setup process. You can click the “Cancel” button in the Setup Assistant at any time to exit the Setup Assistant, using the default recommendations for any unconfigured settings.
After answering a few brief questions, PrivacyScan will be configured to match your scan preferences.
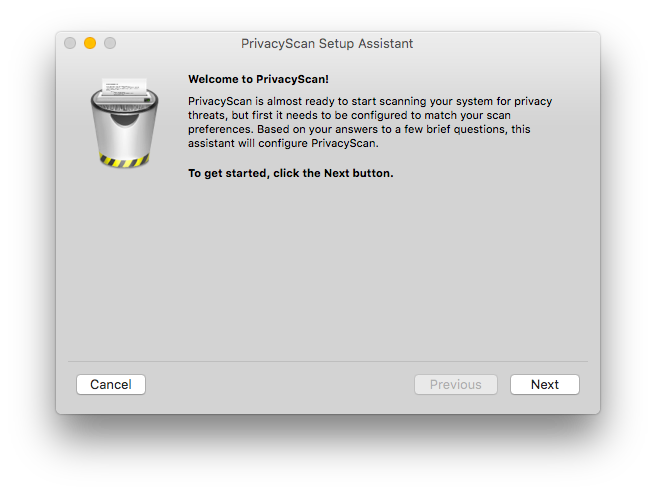
PrivacyScan Setup Assistant: Welcome
The first PrivacyScan Setup Assistant screen provides basic information about the PrivacyScan Setup Assistant.
Click the “Next” button to continue the setup process.
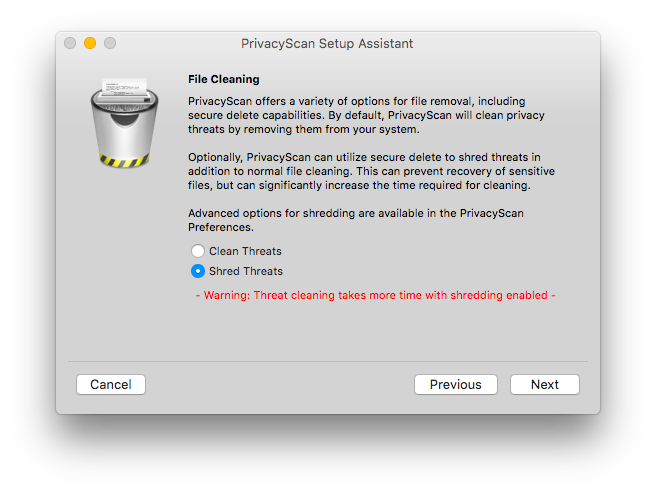
PrivacyScan Setup Assistant: File Cleaning
The second PrivacyScan Setup Assistant screen offers configuration options for file removal and cleaning for detected privacy threats. By default, PrivacyScan will clean privacy threats by removing them from your system. If you desire more advanced threat removal, you can set PrivacyScan to shred sensitive files by overwriting them with one or more passes.
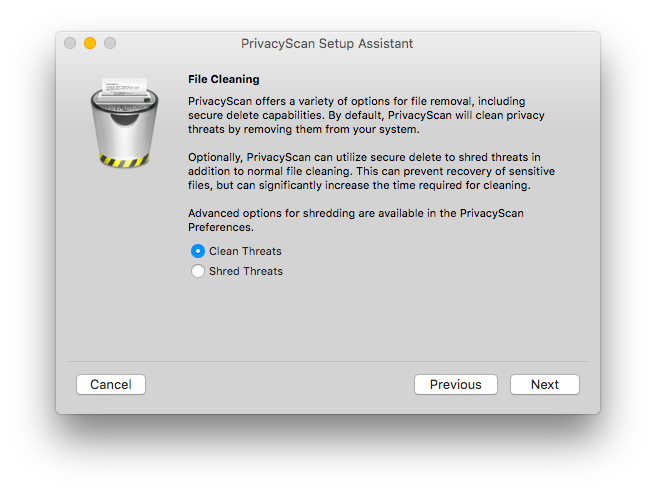
Enabling the shredding option will significantly increase the time it takes to clean privacy threats present on your system.
By default, PrivacyScan will overwrite files with one pass when shredding is enabled in the PrivacyScan Setup Assistant. Advanced options for file shredding are available in the PrivacyScan Preferences.
Click the “Next” button to continue the setup process.
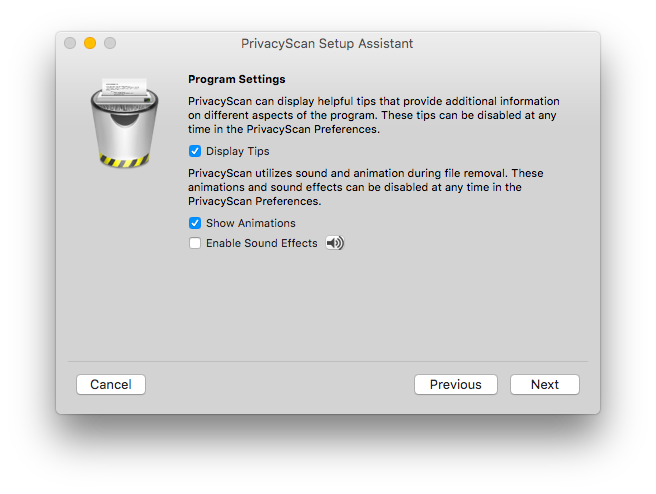
PrivacyScan Setup Assistant: Program Settings
The third PrivacyScan Setup Assistant screen contains configuration options for behavior of the PrivacyScan app itself, including settings for help tips, cleaning animation, and cleaning sound effects.
The PrivacyScan tips, when enabled, provide helpful information for various aspects of the program. The PrivacyScan tips will help guide you through the process to scan your system for privacy threats and then take steps to remove them.
By default, PrivacyScan will display user interface animations while cleaning files. These animations do not affect threat cleaning and removal, and can be disabled at any time.
PrivacyScan provides the option of play a sound effect during the cleaning process. You can preview the sound effect by clicking the speaker button within the PrivacyScan Setup Assistant. Sound effects are disabled by default.
Click the “Next” button to continue the setup process.
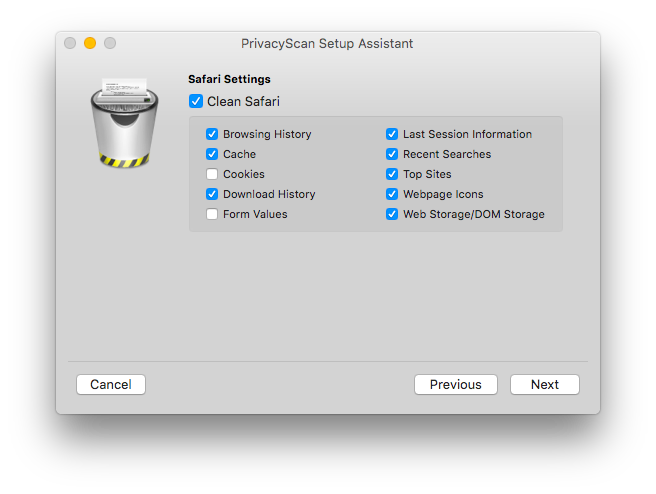
PrivacyScan Setup Assistant: Individual App Settings
After configuring the settings for the PrivacyScan app itself, the next few Setup Assistant screens will display the configuration options for supported apps detected on your system. The recommended settings are selected by default for each app.
Click the “Next” button to continue the setup process.
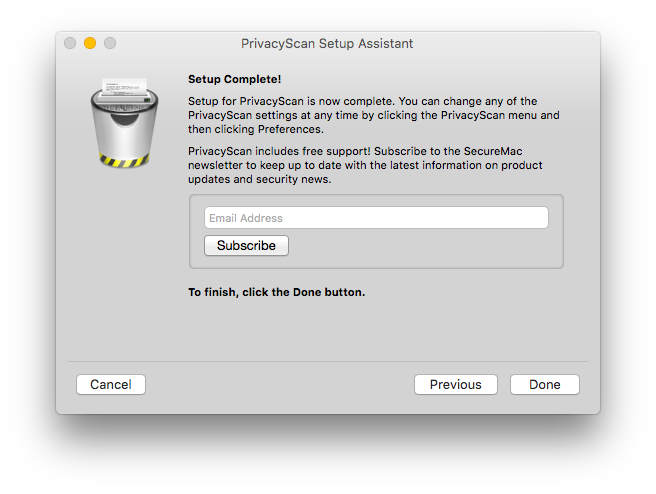
PrivacyScan Setup Assistant: Setup Complete
Once you are finished configuring the settings for detected apps on your system, the PrivacyScan Setup Assistant will let you know it is finished with configurations.
Click the “Done” button to save and exit the PrivacyScan Setup Assistant.
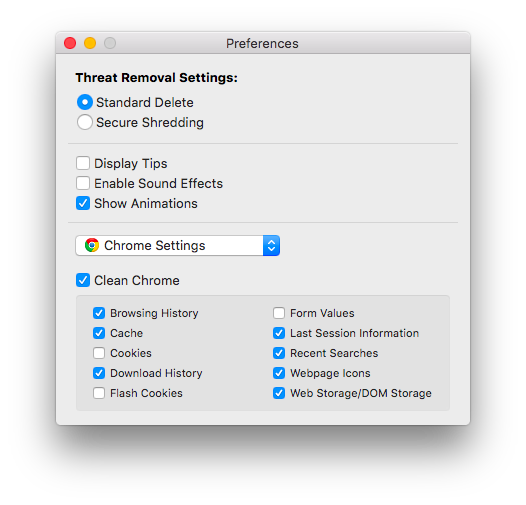
PrivacyScan Preferences
The PrivacyScan Preferences screen allows you to change any of the PrivacyScan application settings. You can switch between Standard Delete and Secure Shredding for threat removal, and Secure Shredding offers advanced options for the shredding level. Higher shredding levels significantly increase cleaning time.
You can additionally enable or disable help tips, sound effects, and animations.
Select an app from the drop-down menu to configure the settings for that app. Uncheck the checkbox next to the app name to skip that app when scanning for privacy threats. To skip an individual item for a given app, uncheck that item.
Close the PrivacyScan Preferences window when you are finished changing PrivacyScan settings.
PrivacyScan Automatic App Finder
Every time you run PrivacyScan, it will utilize the Automatic App Finder feature to check for supported apps that were not installed during the initial configuration of PrivacyScan.
PrivacyScan will alert you when it discovers newly installed apps that could contain privacy threats, and will display a Setup Assistant to configure scan settings to detect threats for the new app.

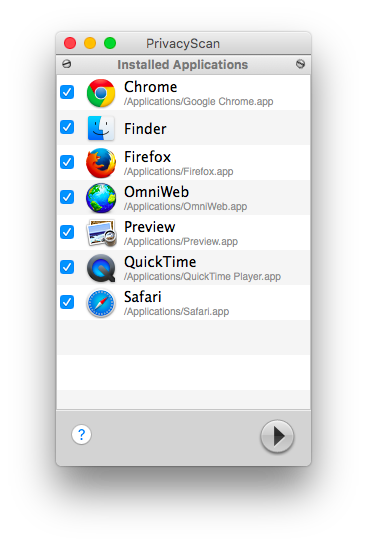
PrivacyScan Main Screen
Once you have completed configuring PrivacyScan with the Setup Assistant, the main PrivacyScan screen will appear. It will show a list of the supported apps detected on your system, along with their location on your system. From here, you can uncheck apps that you do not want to scan. Click the triangle Scan button or click the Clean menu and the click Run Privacy Scan (⌘-R) to scan the selected apps for privacy threats.
Alternatively, you can click the PrivacyScan menu and click Preferences (⌘-,) to change the PrivacyScan settings.
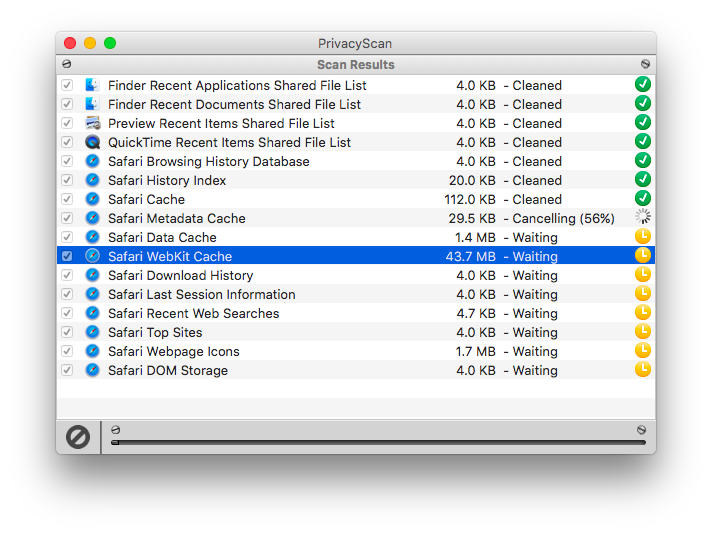
PrivacyScan Scan Results
After clicking the scan button on the main PrivacyScan screen, PrivacyScan will scan the selected apps for privacy threats.
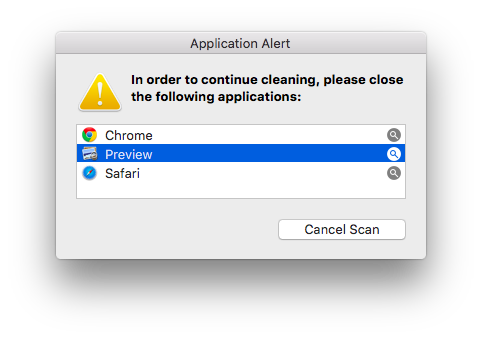
In order for PrivacyScan to work correctly, apps that are selected for cleaning cannot be running while PrivacyScan is performing a scan or cleaning privacy threats. PrivacyScan will alert you when you need to quit running apps. Click the magnifying glass icon in the Application Alert screen to switch to that application, and then quit the app from its application menu or by pressing Command-Q (⌘-Q). After quitting all running apps listed in the Application Alert screen, PrivacyScan will be able to continue the scan/cleaning of privacy threats.
Note that some applications might still be running in the background even if their icon doesn’t appear in the Dock; be sure to use the magnifying glass icon to locate and quit those apps as necessary.
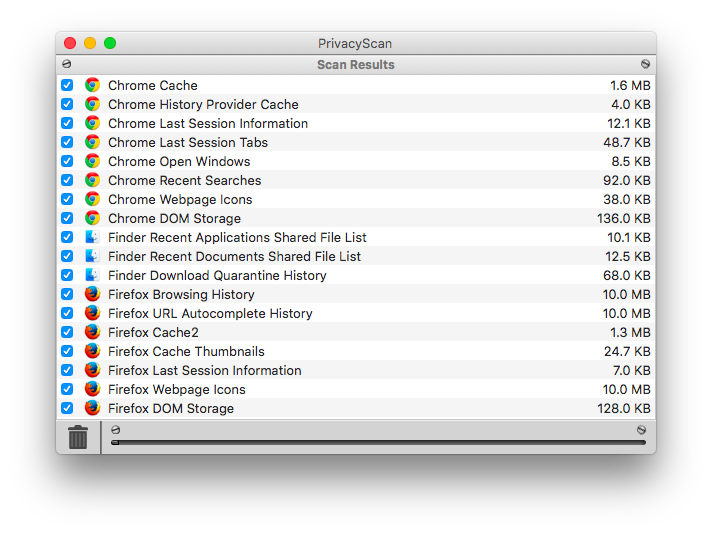
Detected threats will be displayed along with their file size.
You can deselect any items that you do not want to clean, then click the Trash Can icon to clean selected threats. The time needed for the cleaning process to complete will vary based on the threats being cleaned as well as the cleaning level. Secure Shredding at any level will take longer than Standard Delete, and the higher levels of Secure Shredding will take more time than the lower levels.
PrivacyScan Threat Cleaning
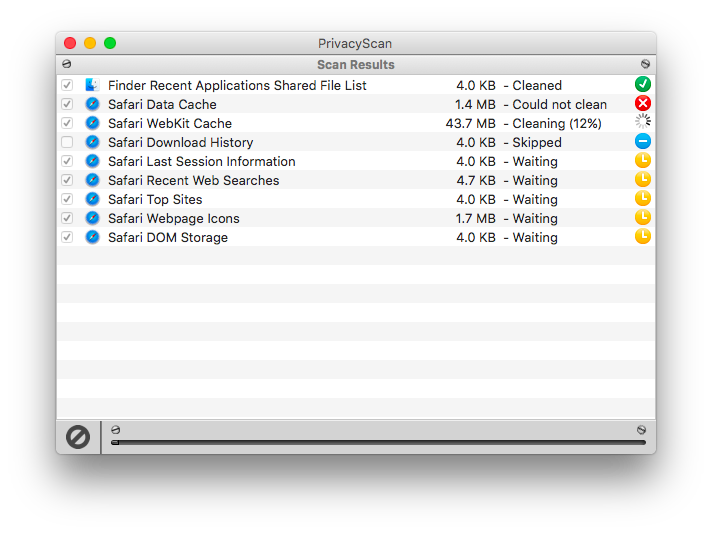
The status for each item will change as it progresses through the cleaning process.
Items that have been successfully cleaned will be listed as “Cleaned” with the green checkmark status image.
Items that were not able to be cleaned will be listed as “Could not clean” with the red X status image.
Items that are currently in the process of being cleaned will be listed as “Cleaning” with the spinning progress indicator, along with a cleaning progress percentage indicator, when applicable.
Items that have not yet been cleaned will be listed as “Waiting” with the yellow clock status image.
Items that have been skipped for cleaning will be listed as “Skipped” with the blue dash status image.
PrivacyScan: Cookie Cleaning Alert
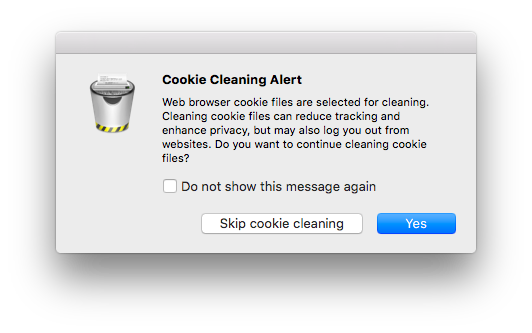
Cleaning cookie files can reduce tracking and enhance privacy, but may also log you out from websites.
If web browser cookie files are selected for cleaning, PrivacyScan will display a Cookie Cleaning Alert screen, giving you the option to continue with cookie cleaning, or skip cookie cleaning. You can stop this warning message from appearing in the future by checking the “Do not show this message again” checkbox.
If you opt to skip cookie cleaning, any web browser cookie files in the scan results list will be skipped for cleaning for this PrivacyScan cleaning session. Otherwise, web browser cookie files will be processed normally for this PrivacyScan cleaning session.
PrivacyScan: Canceling Cleaning
At any time during the cleaning process, you can click the Cancel button, select “Cancel Cleaning” from the “Clean” menu, or press ⌘-K to cancel the cleaning process. PrivacyScan will complete cleaning for any item currently being cleaned when the cleaning is canceled, and then skip any remaining items afterwards before displaying the Cleaning Results screen.
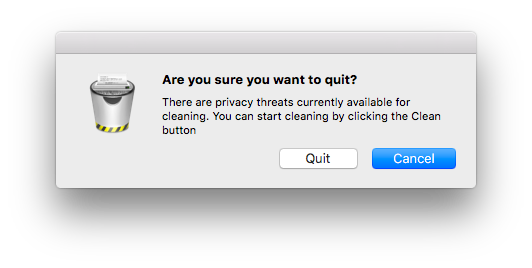
PrivacyScan: Quitting PrivacyScan
If you attempt to quit PrivacyScan after a scan has been completed but before identified privacy threats have been cleaned, you will be alerted that there are items available to be cleaned, and be given the option to return to the PrivacyScan interface instead of quitting the program.
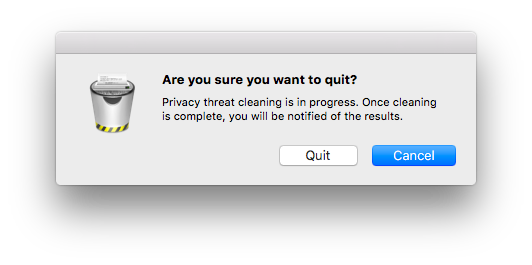
If you attempt to quit PrivacyScan while cleaning privacy threats, you will be alerted that threat cleaning is in progress, and be given the option to return to the PrivacyScan interface instead of quitting the program.
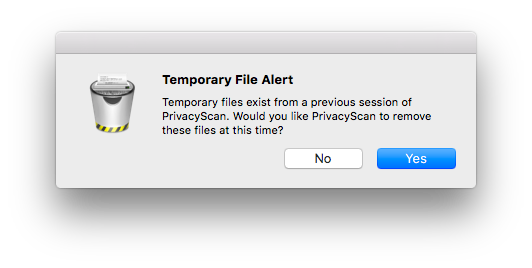
PrivacyScan: Temporary File Alert
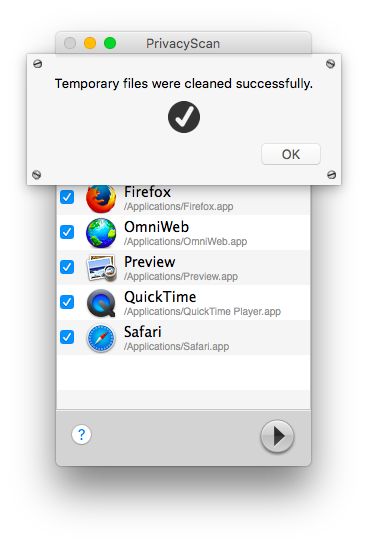
If you quit PrivacyScan in the middle of privacy threat cleaning, the program crashes, or other errors occur that interfere with the PrivacyScan threat cleaning process, temporary files might exist on your system from a previous session of PrivacyScan. The next time you run PrivacyScan, the program will alert you to the presence of these temporary files, and offer you the option to remove them from your system.
If you choose to remove the PrivacyScan temporary files, a screen will appear showing the progress as the temporary files are removed from your system. Once Temporary File cleaning is complete, click the “OK” button to continue on to the normal PrivacyScan user interface.
PrivacyScan Cleaning Results
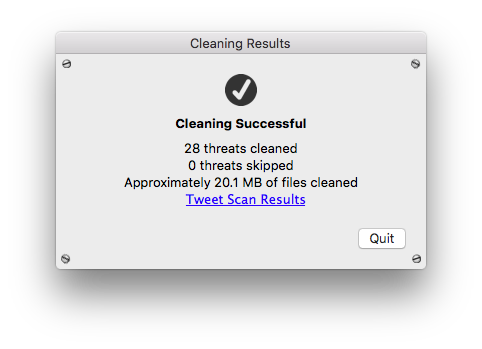
After PrivacyScan threat cleaning is complete, PrivacyScan will display the final cleaning results screen, listing various statistics from the threat cleaning process. The PrivacyScan Cleaning Results screen will list the final cleaning status, the number of threats cleaned, the number of threats skipped, and the approximate total file size of cleaned threats.
If PrivacyScan is able to clean all selected threats, the final cleaning status will be displayed as “Cleaning Successful.” If some threats were skipped, PrivacyScan will note the number of skipped threats.
If PrivacyScan is able to clean some threats but encounters problems cleaning other threats, the final cleaning status will be displayed as “Cleaning Problems Occurred.” PrivacyScan will note the number of threats that were unable to be cleaned.

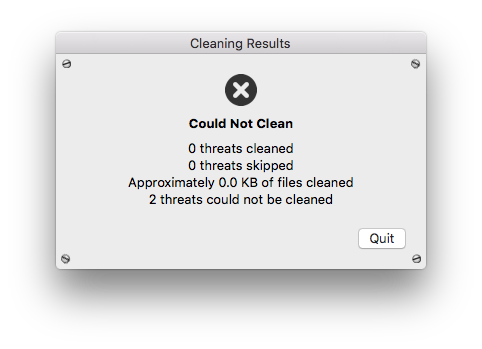
If PrivacyScan is unable to clean any selected threats, the final cleaning status will be displayed as “Could Not Clean.” PrivacyScan will note the number of threats that were unable to be cleaned.
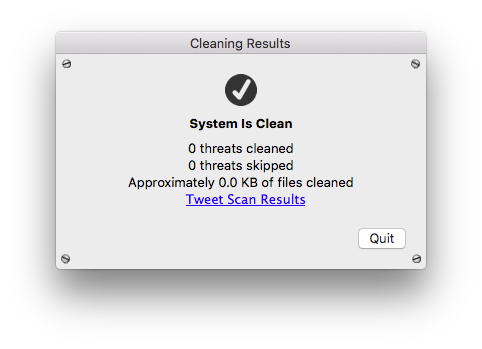
If no threats were detected during the scan, PrivacyScan will set the final cleaning status to “System Is Clean.”
When appropriate, PrivacyScan will give the option to share your scan results on Twitter with the “Tweet Scan Results” link.
PrivacyScan Supported Browsers and Apps
PrivacyScan supports the following browsers, apps, and items:
Camino: Browsing History, Cache, Cookies, Download History, Last Session Information, Webpage Icons, and Web Storage/DOM Storage.
Chromium: Browsing History, Cache, Cookies, Download History, Flash Cookies, Form Values, Last Session Information, Recent Searches, Webpage Icons, and Web Storage/DOM Storage.
Chrome: Browsing History, Cache, Cookies, Download History, Flash Cookies, Form Values, Last Session Information, Recent Searches, Webpage Icons, and Web Storage/DOM Storage.
Finder: Recent Items, Recent Folders, and Download Quarantine History.
Firefox: Browsing History, Cache, Cookies, Download History, Form Values, Last Session Information, Recent Searches, Webpage Icons, and Web Storage/DOM Storage.
Flash Cookies: History, Shared Objects
Flock: Browsing History, Cache, Cookies, Download History, Form Values, Last Session Information, Recent Searches, Webpage Icons, and Web Storage/DOM Storage.
iCab: Browsing History, Cache, Cookies, Download History, Last Session Information, Recent Searches, Top Sites, Webpage Icons, and Web Storage/DOM Storage.
OmniWeb: Browsing History, Cache, Cookies, Download History, Form Values, and Webpage Icons.
Opera: Browsing History, Cache, Cookies, Download History, Last Session Information, Recent Searches, Webpage Icons, and Web Storage/DOM Storage.
Preview: Recent Items
QuickTime: Cache, Download Quarantine History, Recent Items
Safari: Browsing History, Cache, Cookies, Download History, Form Values, Last Session Information, Recent Searches, Top Sites, Webpage Icons, and Web Storage/DOM Storage.
SeaMonkey: Browsing History, Cache, Cookies, Download History, Form Values, Last Session Information, and Web Storage/DOM Storage.
Shiira: Browsing History, Cache, Cookies, Download History, Last Session Information, and Webpage Icons.
Disabling Browser Sync
When you enable sync features in your web browser, your browsing data is sent to remote servers and stored in the cloud. This data includes browsing history, open tabs, bookmarks, and other information. If you have sync features enabled for your web browsers, your browsing data will continue to reappear, even after cleaning with PrivacyScan.
Disabling browser sync will ensure that PrivacyScan can clean your browsing data without it reappearing on your system.
Disabling Chrome Sync for Chrome/Chromium
To disable Chrome Sync, open your Chrome (or Chromium) web browser, click the Chrome (or Chromium) menu in the upper left corner of your screen, and then click “Preferences” to open the browser settings page. Alternatively, you can enter the following URL in Chrome or Chromium to go directly to the settings page: chrome://settings (note that this URL will not work in web browsers other than Chrome or Chromium).
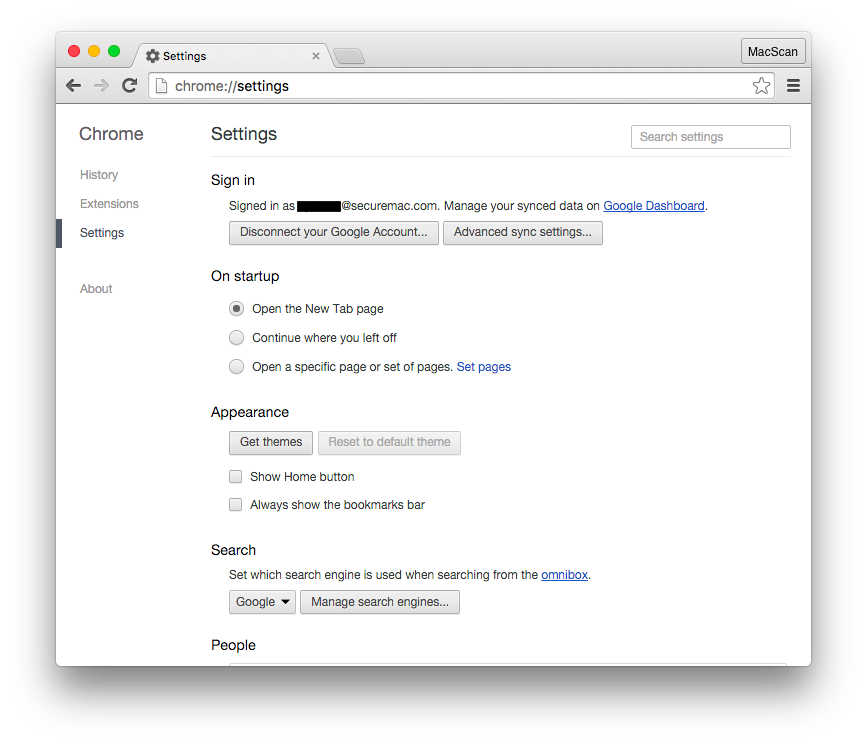
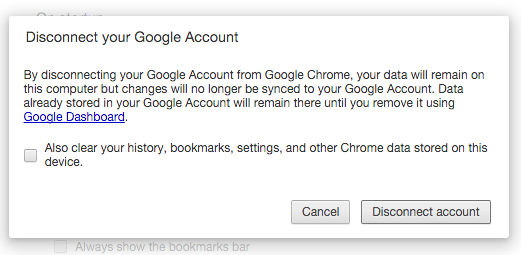
If you are signed into your Google Account, it will be shown under the “Sign in” section at the top of the settings page. Click the “Disconnect your google Account” button, then click the “Disconnect account” button on the alert screen that appears. Your browsing data will no longer be sent to Google.
Disabling Firefox Sync for Firefox
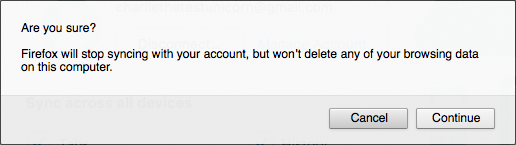
To disable Firefox Sync, open your Firefox web browser, click the Firefox menu in the upper left corner of your screen, and then click “Preferences” to open the browser preferences screen. Click the Sync tab on the browser preferences screen that appears.

If you are signed into your Firefox Account, it will be shown on the Sync screen. Click the “Disconnect” button, then click the “Continue” button on the alert screen that appears. Your browsing data will no longer be sent to Firefox.
Disabling iCloud Sync for Safari
To disable iCloud Sync for Safari, click the Apple icon in the upper left corner of your screen, and then click “System Preferences” to open the macOS System Preferences screen. Click the iCloud button on the System Preferences screen that appears.

If iCloud is set up to sync Safari browsing data, the checkbox next to Safari will be checked. Uncheck the Safari checkbox to disable iCloud Sync for Safari. Your browsing data will no longer be sent to Apple.
PrivacyScan Technical Support
If you encounter any problems with PrivacyScan, require technical support, or would like to provide feedback, you can contact us from within PrivacyScan by clicking the Help menu and then clicking Provide Feedback.
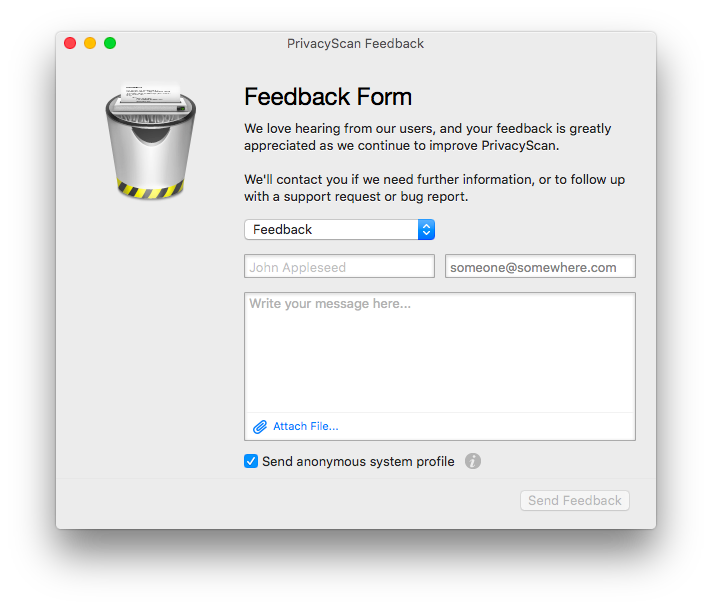
You can also contact us by e-mail at privacyscan@securemac.com.