Cybersecurity New Year’s Resolution #2: Turn on 2FA
This time of year offers an opportunity to make long overdue changes — changes which can greatly improve your quality of life in the months and years ahead. That’s why we’re spending a few weeks showing you how to make some significant improvements to your cybersecurity posture in order to create lasting security and privacy for the future.
Of course, some of you may have already done these things (great!). If so, please take a moment to share these guides with someone in your life who may be ready to make a change — but who might just need a little nudge.
Why you should do it
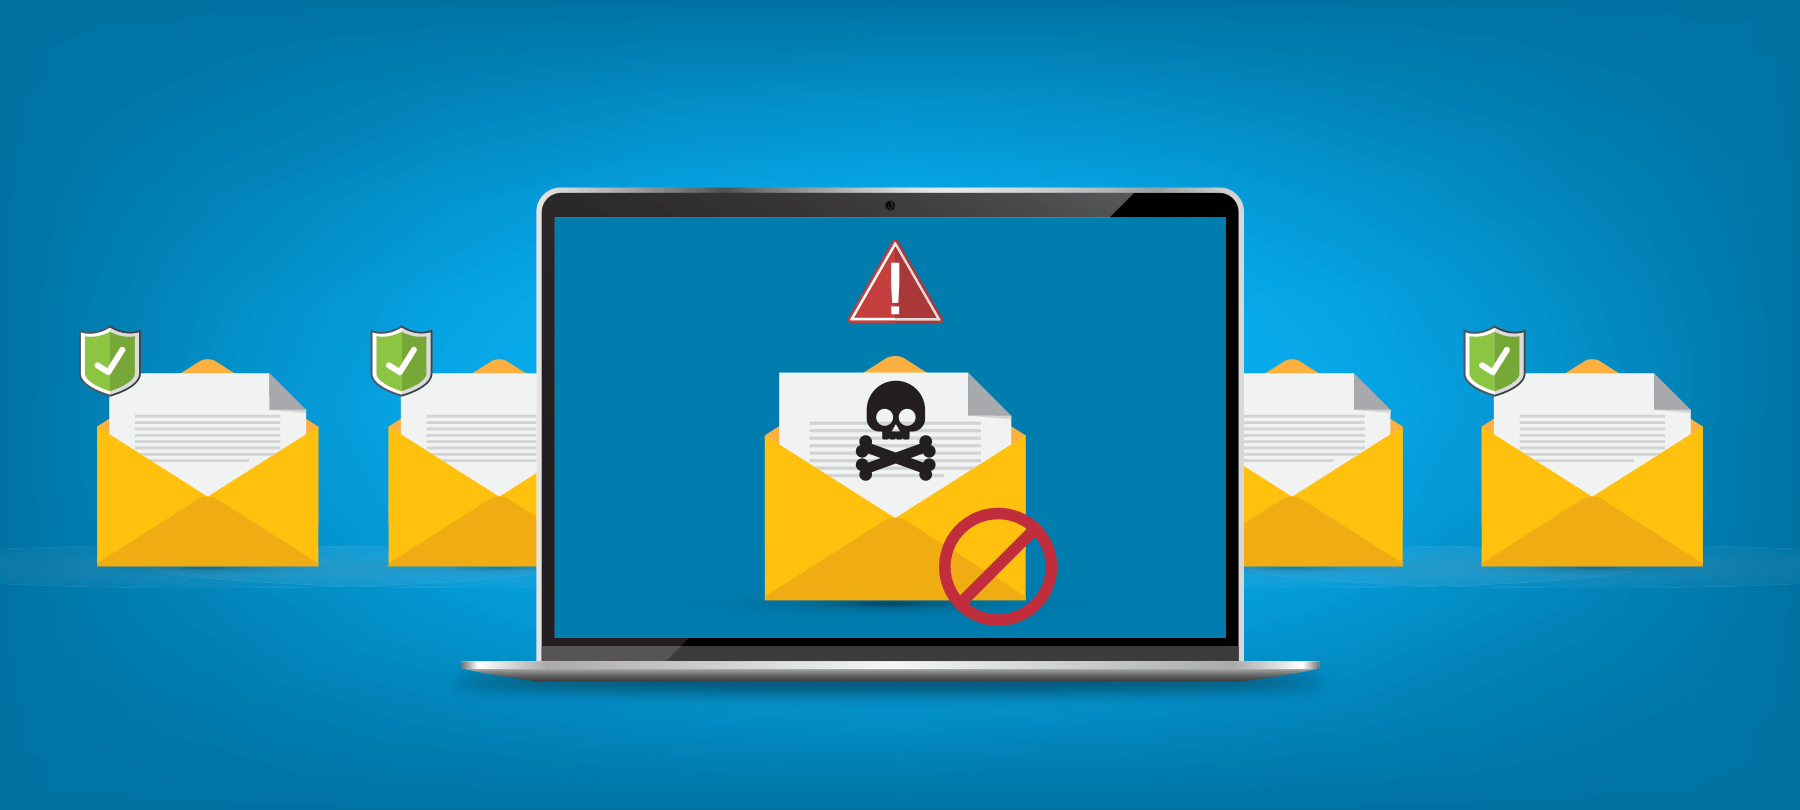
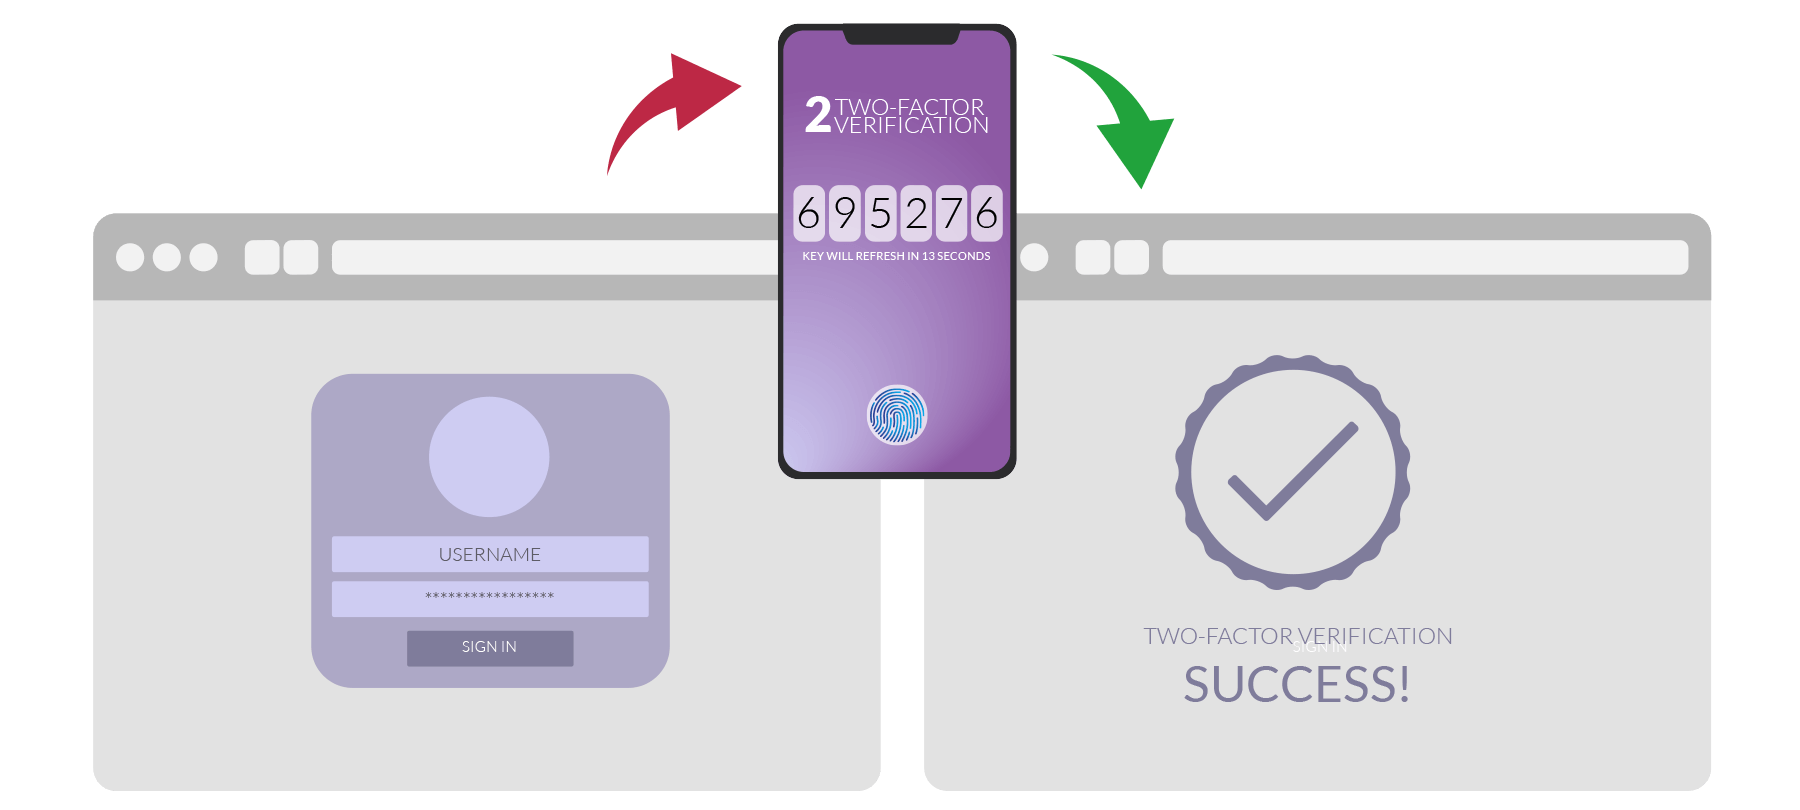
Two-factor authentication, or 2FA, is one of the best cybersecurity tools available to you. The main benefit of two-factor authentication is that it adds another layer of protection to your accounts and services, above and beyond passwords, by requiring a second form of authentication (an “authentication factor”) at login. This means that even if someone manages to get hold of your username and password, they still won’t be able to access your account — because they’ll be missing that crucial second factor needed to log in.
Time investment: Low to Medium — 30 minutes to 2 hours, depending on how many accounts you want to set up with 2FA. Bear in mind that two-factor authentication is enabled on an account by account basis, meaning that it’s perfectly fine (and maybe even advisable) to just set up a single account with 2FA for the first week, until you start to feel comfortable with the technology. In fact, that’s exactly the approach we’re going to take in this guide…
How to do it
Again, two-factor authentication just means that in order to access an account or service, two “authentication factors” — i.e. things which prove that you’re the rightful owner of the account — need to be provided.
There are different implementations of 2FA, but in most cases, you’ll be dealing with the following two factors:
- Your account credentials (username and password)
- One-time codes sent to your smartphone
Here’s how this might look in practice. Let’s say you’ve enabled two-factor authentication on your LinkedIn account. You go to the LinkedIn login page and enter your email and password as you usually would. But instead of immediately granting you access, LinkedIn sends a verification code to your phone number by SMS, and prompts you to enter that code. You look at your phone, enter the 6-digit code that LinkedIn sent you, and you’re in. That’s it! Just one extra step, but much more secure than using a password alone.
In what follows, we’ll walk you through the steps needed to actually set up two-factor authentication on a service that many people use: Twitter. But even if you aren’t on Twitter, don’t worry — we’re only using Twitter as a practical example, and at each step we’ll talk about how the process of enabling two-factor authentication on Twitter relates to setting up 2FA in general, so you’ll be able to follow along with another service that you use. Note that the steps below walk you through the process on a desktop or laptop system.
- 1
Go to twitter.com and login with your username and password.
General rule: Maybe it goes without saying, but this is always going to be the first step in setting up 2FA — you have to be logged in to your account and able to prove that you’re the rightful owner in order to make security changes.
- 2
For 2FA to work via SMS, you’ll need the account to be linked to your phone number. In Twitter, this is found in Settings > Account > Login and security > Phone. If you already have a number listed, just make sure it’s current. If there’s no number there, add your phone number now. You’ll be prompted to enter your account password again in order to make this change. Twitter will send a confirmation code to your phone and display a pop-up window on the website where you can enter the code in order to verify your number.
General rule: You’ll need a linked phone number in order to use your mobile device as an authentication factor and set up 2FA, so always start here. You can usually set your phone number in the personal information or account settings area of your account. As with Twitter, you may be prompted to re-enter your password in order to make the change. Generally speaking, a service will want to make sure that the number you’ve given is valid (and yours), so they’ll usually try to verify the number using a code sent by SMS. One word of caution: When adding your phone number to an account for the first time, you may see a privacy option asking you if you want your number to be discoverable by or visible to other users (Twitter has something like this), so pay attention to what option you select if you don’t want to be easily found!
- 3
Now that you’ve made sure the account is connected to your current phone number, it’s time to actually set up two-factor authentication. Start by going to Settings > Account > Login and security > Security > Two-factor authentication.
General rule: Since two-factor authentication is a security setting, you’re almost always going to find the option to turn it on somewhere in the “security” or “security and privacy” area of your account settings. If you’re having trouble figuring out where to look, though, just do a quick web search for the name of the service or website in question along with the words “how to turn on 2FA”, and you’ll find the answer in seconds. Most major services have help pages specifically designed to walk you through their version of the 2FA setup process.
- 4
Now it’s time to decide how you’d like to set up 2FA. You’ll see several options for your second authentication factor. We’ll discuss one of these later, but for now, just pick “text message”. As soon as you do, a dialog will appear to help walk you through the process. You’ll first have to re-enter your password (yes, again!), and then you’ll have to verify your phone number with a code sent by SMS to your number of record. Enter this code, and two-factor authentication is now enabled on your phone.
General rule: Turning on 2FA follows this same basic pattern for most sites. Again, you’ll often see more than one option for what you can use as a second authentication factor — often an “authenticator” app, which will be discussed later. For now, just use the standard text message (SMS) option. You will probably be asked to re-enter your account password in order to make the change, and you’ll need to verify your phone number by entering a code that they send you in order to finish setting up 2FA
- 5
As soon as you’ve enabled 2FA, Twitter will give you a single-use backup code and recommend that you copy it and store it somewhere safe. Do this, because this backup code is what will let you back into your account in an emergency if your phone is lost or stolen. You go to Settings > Account > Login and security > Security > Additional methods and generate a new code if you ever feel your old one has been compromised, but be aware that once you do this, only the new code will work — the old one will no longer be valid.
General rule: If a site or service can be set up with two-factor authentication, it should also have the option to generate these one-time backup codes (also called “single-use codes” or “recovery codes”) in case you lose your phone. You can usually find these in the same general settings area where you turned on 2FA. Again, if you can’t quite find where to generate these, just Google the name of the service and the words “generate recovery codes” or something similar. Store these codes as hard copies, not on a computer or mobile device, and keep them somewhere safe. A home safe or a bank safety deposit box is ideal. And if a service doesn’t allow you to print out such codes, then you should probably rethink using 2FA with that particular account.
That’s it! Now you’re set up for two-factor authentication. From now on, when you go to log in to your account, you’ll just need to enter that code that they send to your phone: It only takes a few extra seconds, but makes you much, much harder to hack.
Next Step
Once you’ve gotten comfortable with using two-factor authentication on one of your accounts, consider taking the following steps to become a 2FA superuser.
Try it on another service (or several)
Once you’ve got 2FA enabled on one account, try adding it to other important accounts as well. Again, you don’t have to do it all at once — you could set a goal of one per week, for example. And remember that you can get a lot out of two-factor authentication just by using it on several core accounts, which often have an outsized impact on your security. For example, if you enable 2FA on your Google and Apple accounts, your bank’s website, and your password manager, a huge part of your digital life becomes much more secure in just minutes.
Set up Autofill for security codes
If you use a macOS computer and a Safari browser, and also have an iPhone running iOS 8.1 or later, you can make use of an autofill functionality that Apple has provided in order to make it easier and more convenient to use 2FA.
Start in your iPhone’s Settings, and then go to Messages > Text Message Forwarding and tap your Mac.
Now, when you use your Mac’s Safari browser to log in to a web page for which you’ve enabled 2FA, Safari will provide the security code in the browser when you’re prompted to enter it — just click on the security code when you see it appear.
There’s an iOS version of this feature as well: When you’re using an iPhone with more recent version of iOS, and you’re using a mobile app for an account which has 2FA enabled, tapping on the SMS message alert when it comes in will autofill the code for you, making it even easier to use two-factor on mobile.
Try an authenticator app
In this guide, we’ve shown you how to set up 2FA using text messages sent to your smartphone. This is a common and convenient implementation of two-factor authentication, but it does have some drawbacks. SMS has limitations as a data transfer protocol, and is, frankly, not as secure as some other methods. If you travel a lot internationally, relying on SMS messages may not be ideal, since cellular network coverage may be spotty and international roaming plans expensive — or since you may just be using a local SIM and phone number which won’t work with your existing 2FA setup. That’s why many people prefer to use an authenticator app like Authy and Google Authenticator as an alternative to SMS-based 2FA. These provide the same basic functionality as the SMS version of two-factor authentication, allowing you to receive one-time codes on your mobile device, but without some of the limitations of SMS. If you’re interested in giving this a try, we recommend Authy. Start by installing the Authy app on your mobile device and then visit Authy’s website for a full list of setup guides by service.
That’s all for Cybersecurity New Year’s Resolution #2. Take two-factor for a test drive, and let us know if you have any questions about the process. Next week, we’ll be back with Resolution #3!